Tutorial #1: How To Upload Your Home Videos to Projector
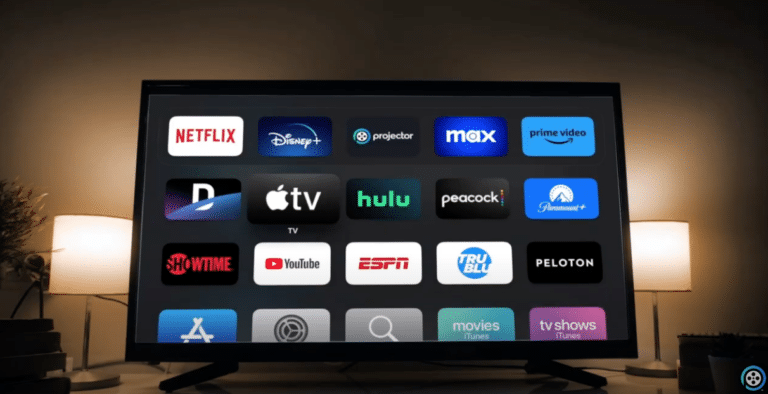
At Projector, our mission is to help you enjoy your family’s memories the same way you’d enjoy your favorite shows—on your TV, with the people you love. In this tutorial, we’re going to walk you through how to upload your home videos to Projector, step by step. This is the foundation of building your personal streaming service—your very own “family Netflix.”
You can view this video tutorial here.
Let’s get started.
Why Uploading Is the First Step
Before you can watch anything on your personal Projector TV app, you need to upload your content. While Projector supports both photos and videos, this guide will focus exclusively on uploading home videos. (Photo uploads and slideshows will be covered in a future post—stay tuned!)
Once your videos are uploaded, you can:
- Watch them instantly on your TV
- Organize them into categories and playlists
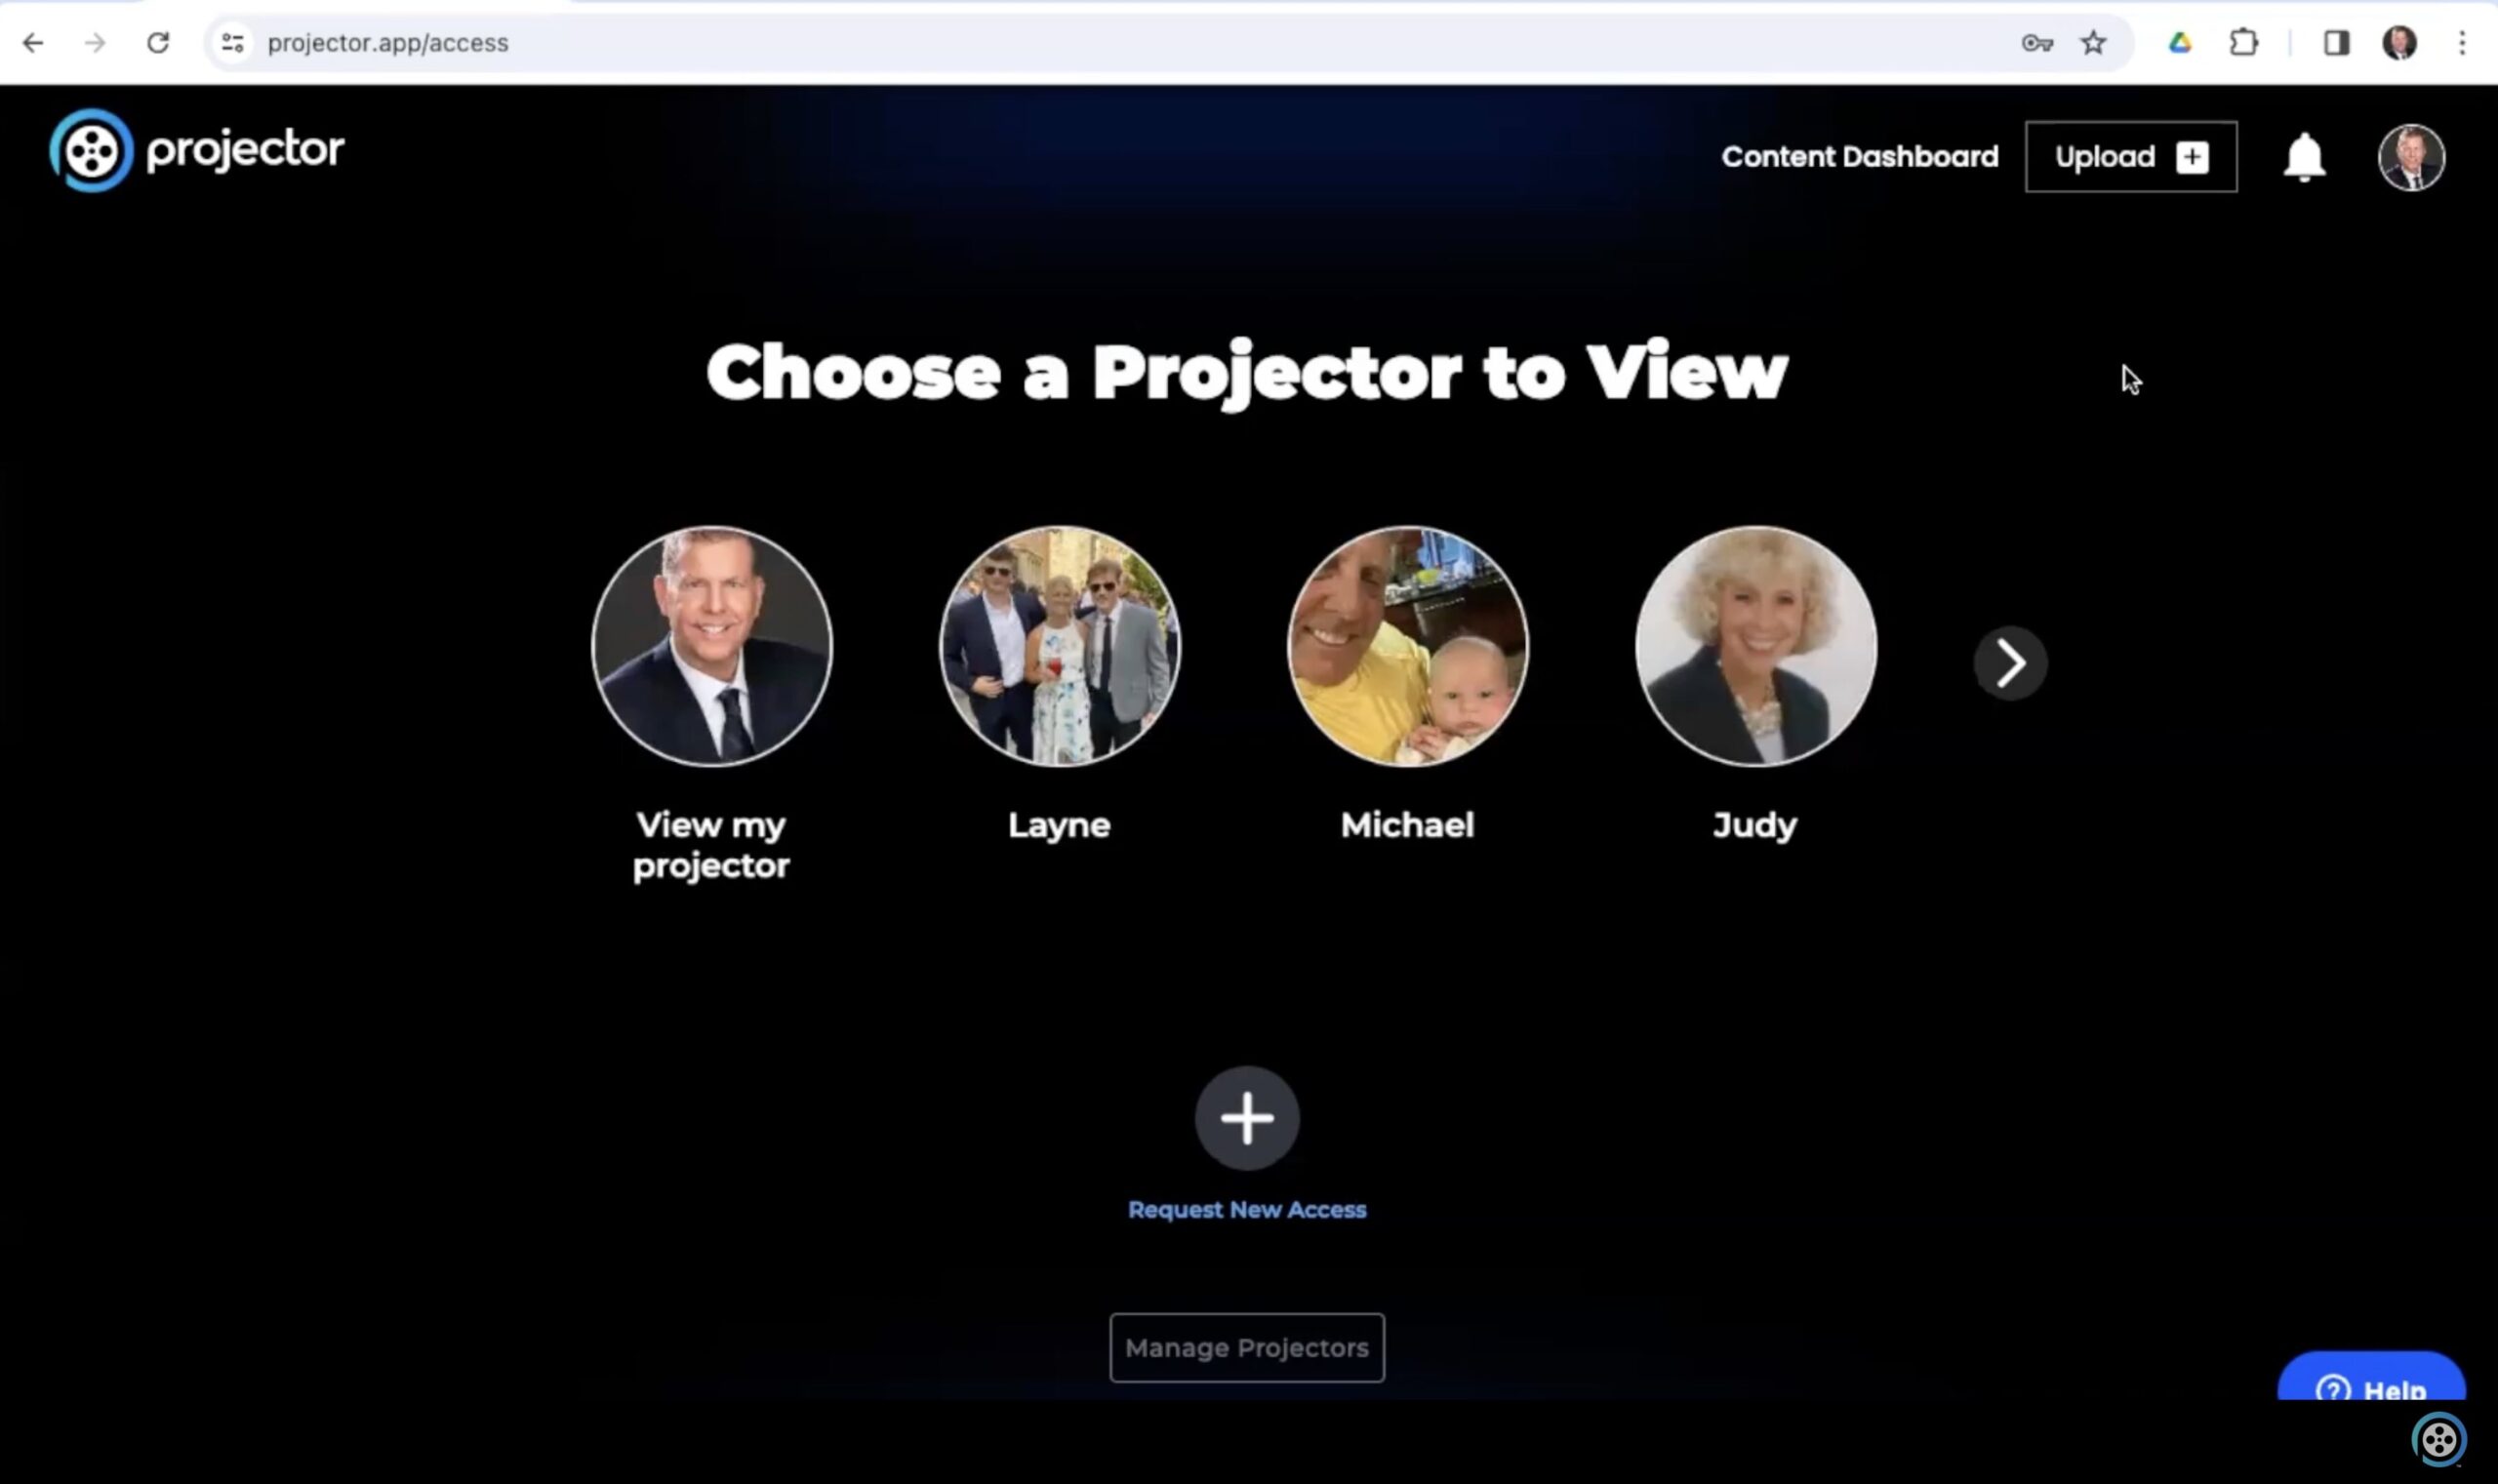
- Share your Projector with others (they can view for free!)
💡 Only paid users can upload videos. However, anyone you share your Projector with can view your content without a subscription.
Step 1: Uploading a Video
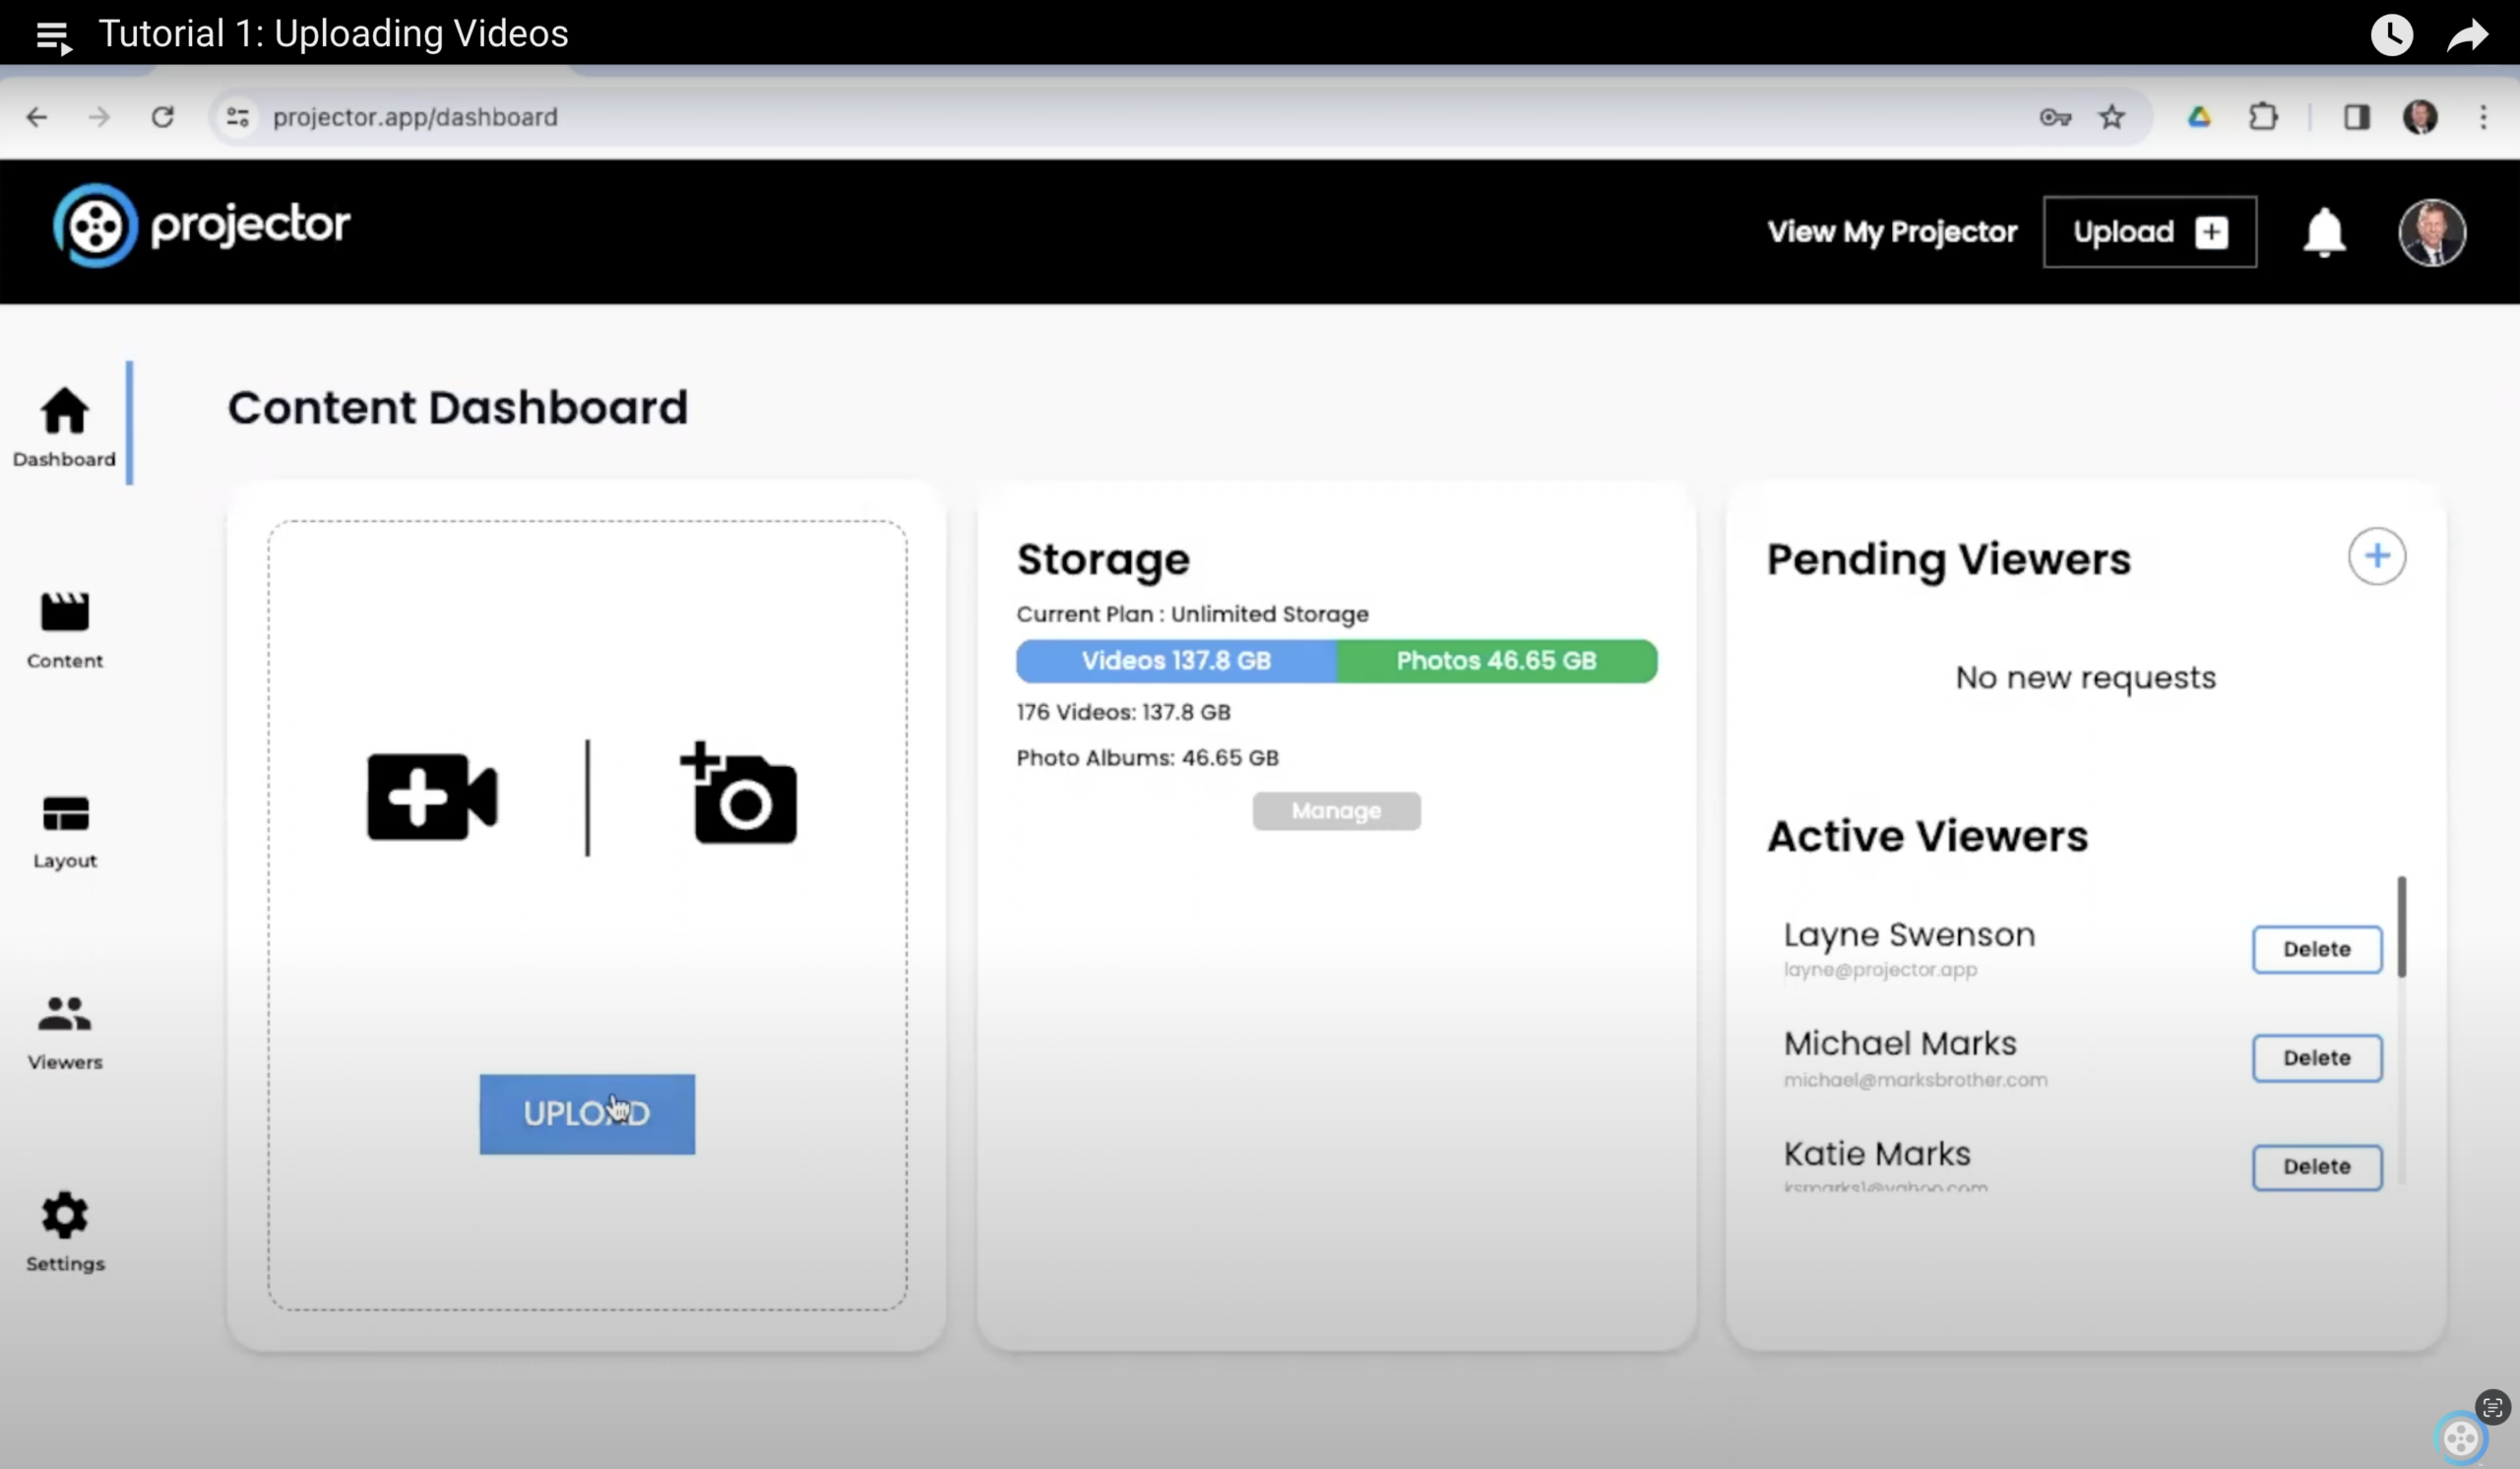
Once you’re logged in, uploading is easy. You can start from the main dashboard or the content dashboard, both of which have prominent “Upload” buttons.
Here’s how the process works:
Choose the File
- Click Upload
- Select Video (you can also upload photos here)
- Drag and drop your file or browse your device
✅ We recommend uploading .MP4 files. Standard-definition videos should remain in SD to avoid unnecessary file bloat or quality issues.
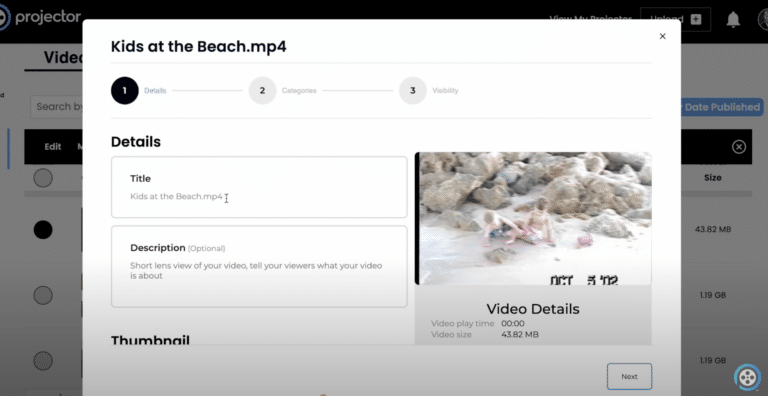
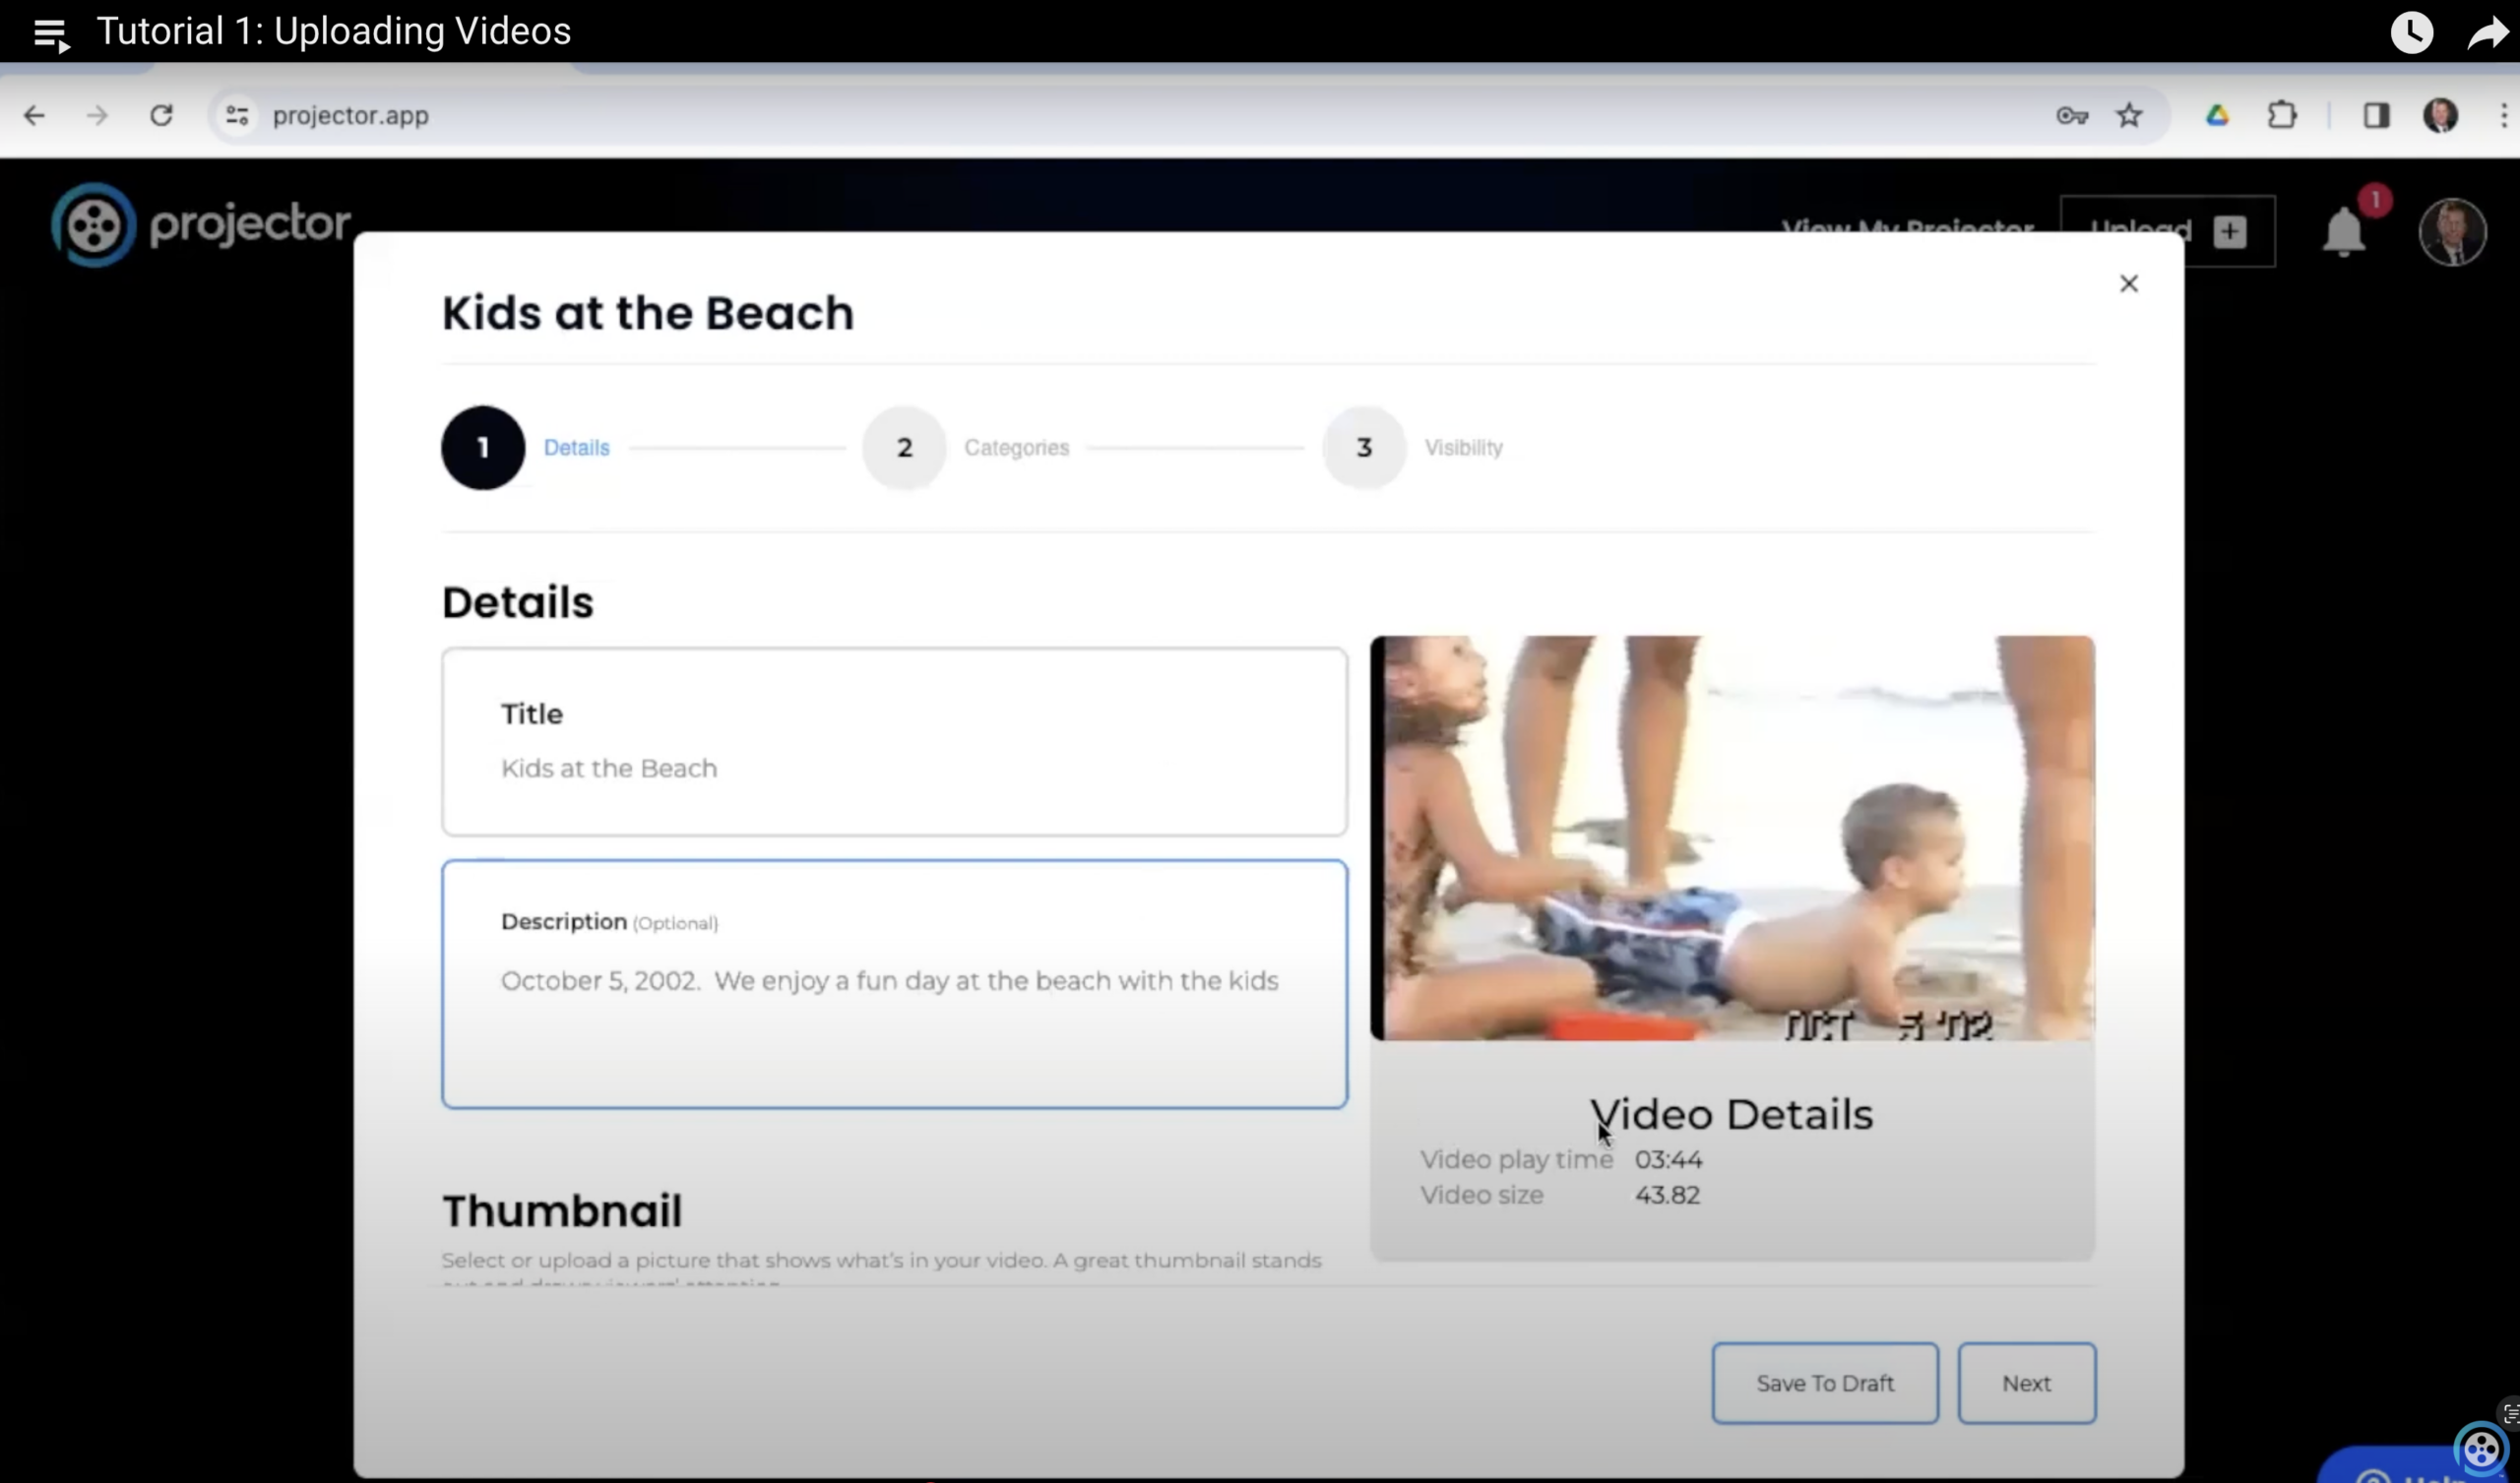
Set Your Video Details
Once the file is uploaded, Projector will automatically:
- Extract several thumbnail options
- Auto-fill the title based on your file name
You can:
- Choose your favorite thumbnail (or upload a custom one)
- Edit the title (e.g., remove “.mp4”)
- Add an optional description to make it feel more like a movie or show
📌 Note: A title and thumbnail are required for your video to be published. Otherwise, it will remain in “draft” status.
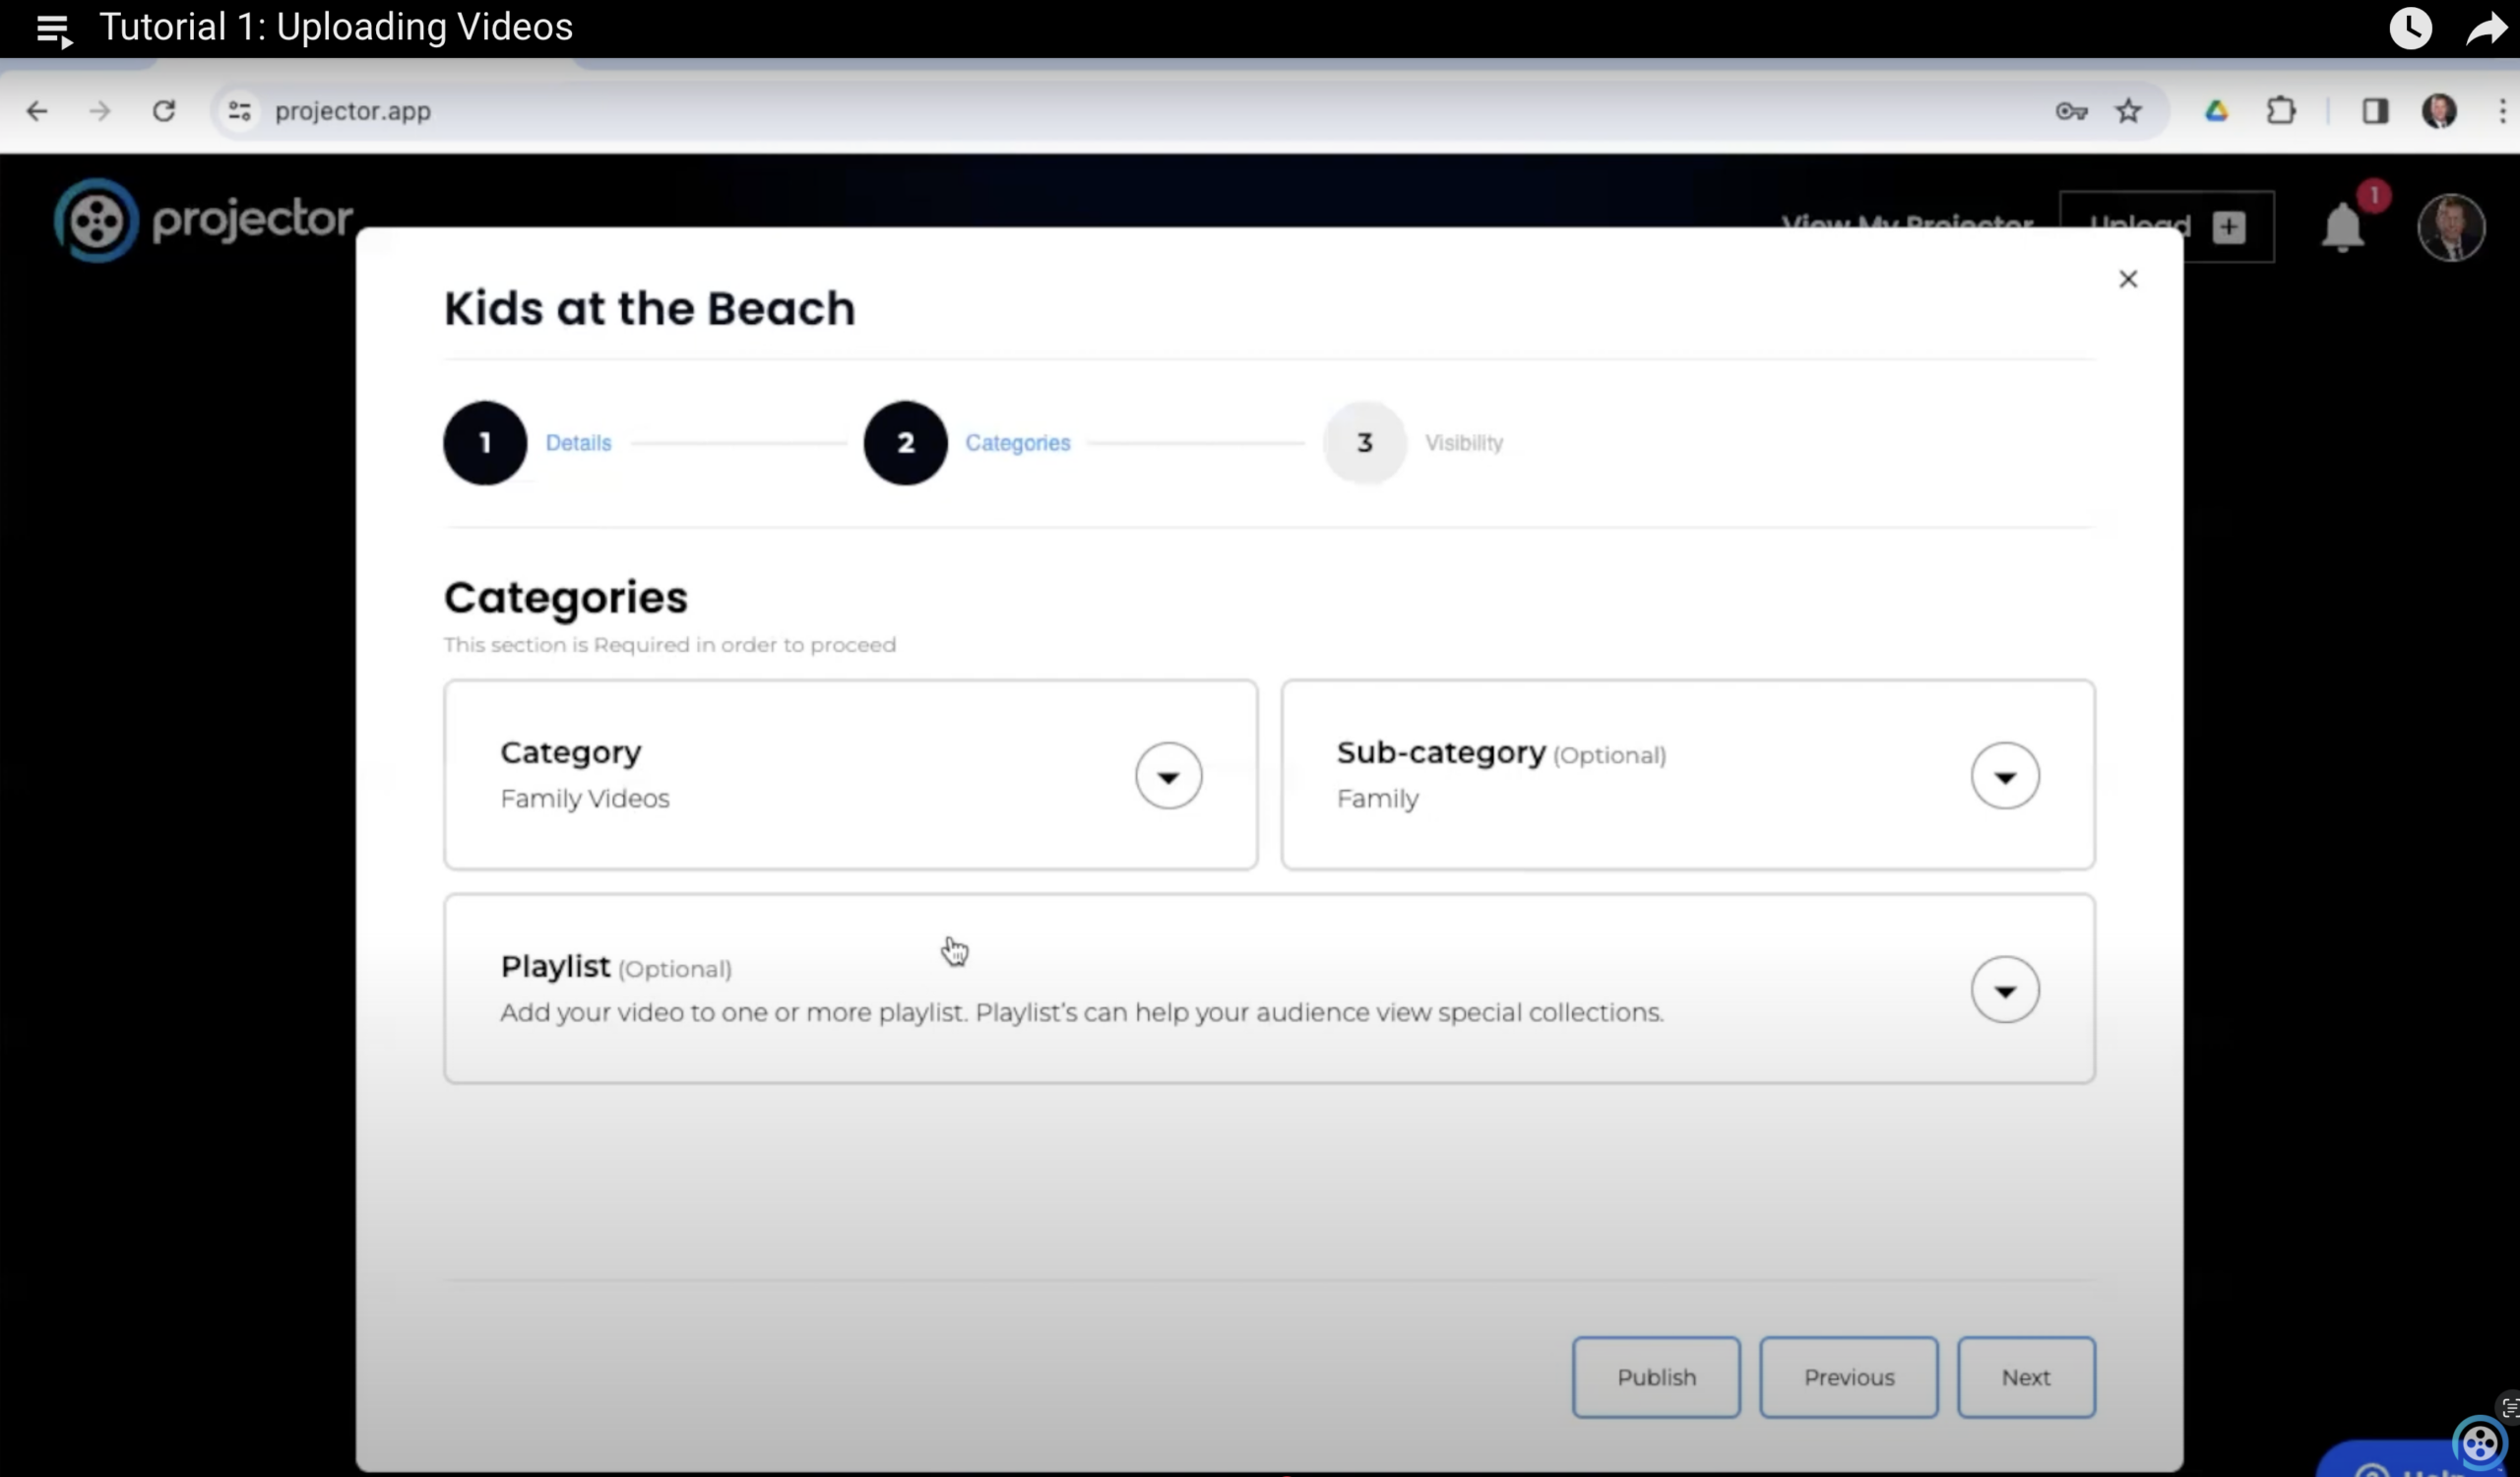
Step 2: Assign a Category
Projector organizes videos using a category system, just like Netflix or Disney+. Every video needs to live in a category.
If this is your first upload:
- Click Add New
- Name your category (e.g., “Family Videos”)
- Choose a background image (optional, but highly recommended)
You can also add a:
- Subcategory for better organization and searchability (e.g., “Beach” or “Vacation”)
- Playlist, which acts like a collection across categories (e.g., “Birthdays”)
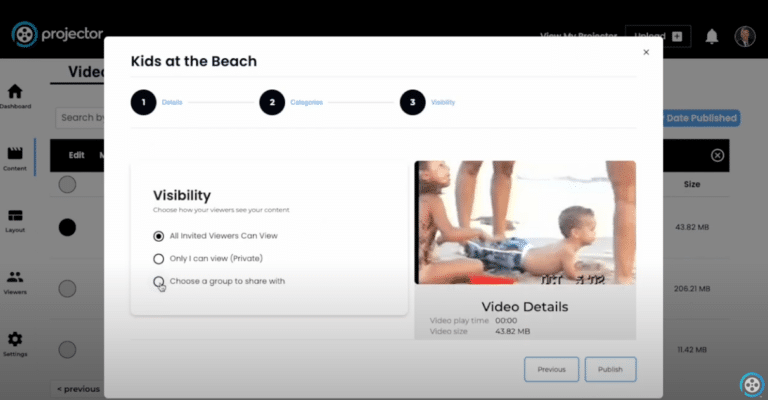
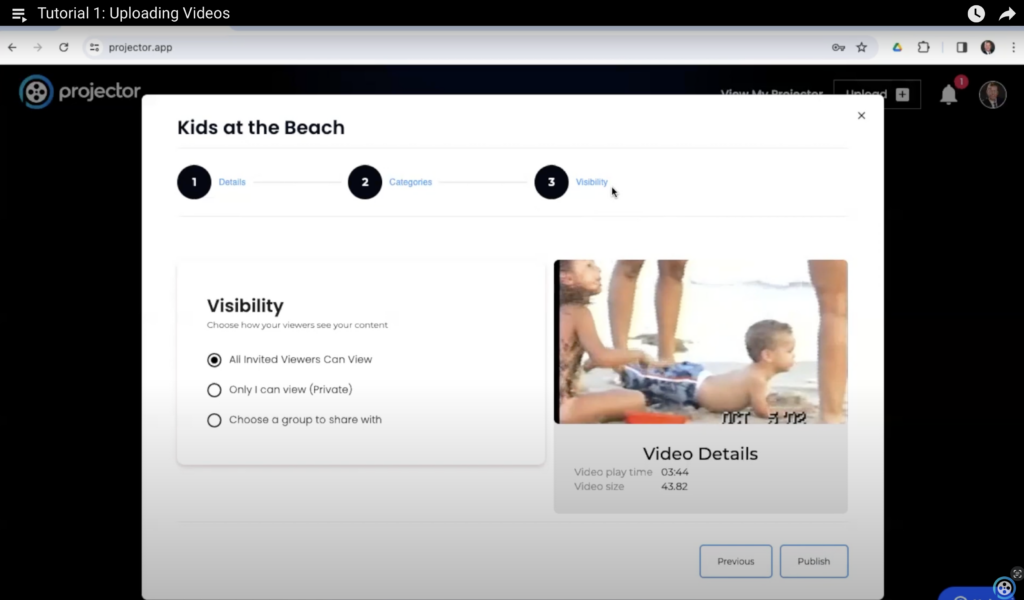
Step 3: Set Visibility
The final step is to choose who can see your video. This isn’t YouTube or social media—Projector is private by design.
Your options:
- Only Me – For your eyes only
- Anyone with Access – Viewable by those you’ve shared your Projector with
- Specific Groups – (Advanced option) Create groups to fine-tune access
Once you’re happy with your settings, click Publish!
Bonus: Uploading Videos Rapid-Fire with Drafts
Want to upload a batch of videos quickly? Use the “Save as Draft” feature:
- Upload your video
- Click Save as Draft
- Repeat for additional videos
- Later, go to the Drafts tab to finish setting titles, thumbnails, and categories
⚠️ Important: Keep your browser open and your computer awake while uploading to avoid broken uploads.
Viewing Your Videos on Projector
Once uploaded and published, your videos are live on your Projector app!
You can:
- Browse by category
- See your selected thumbnails and titles
- Read your custom descriptions
- Click and play right from your TV
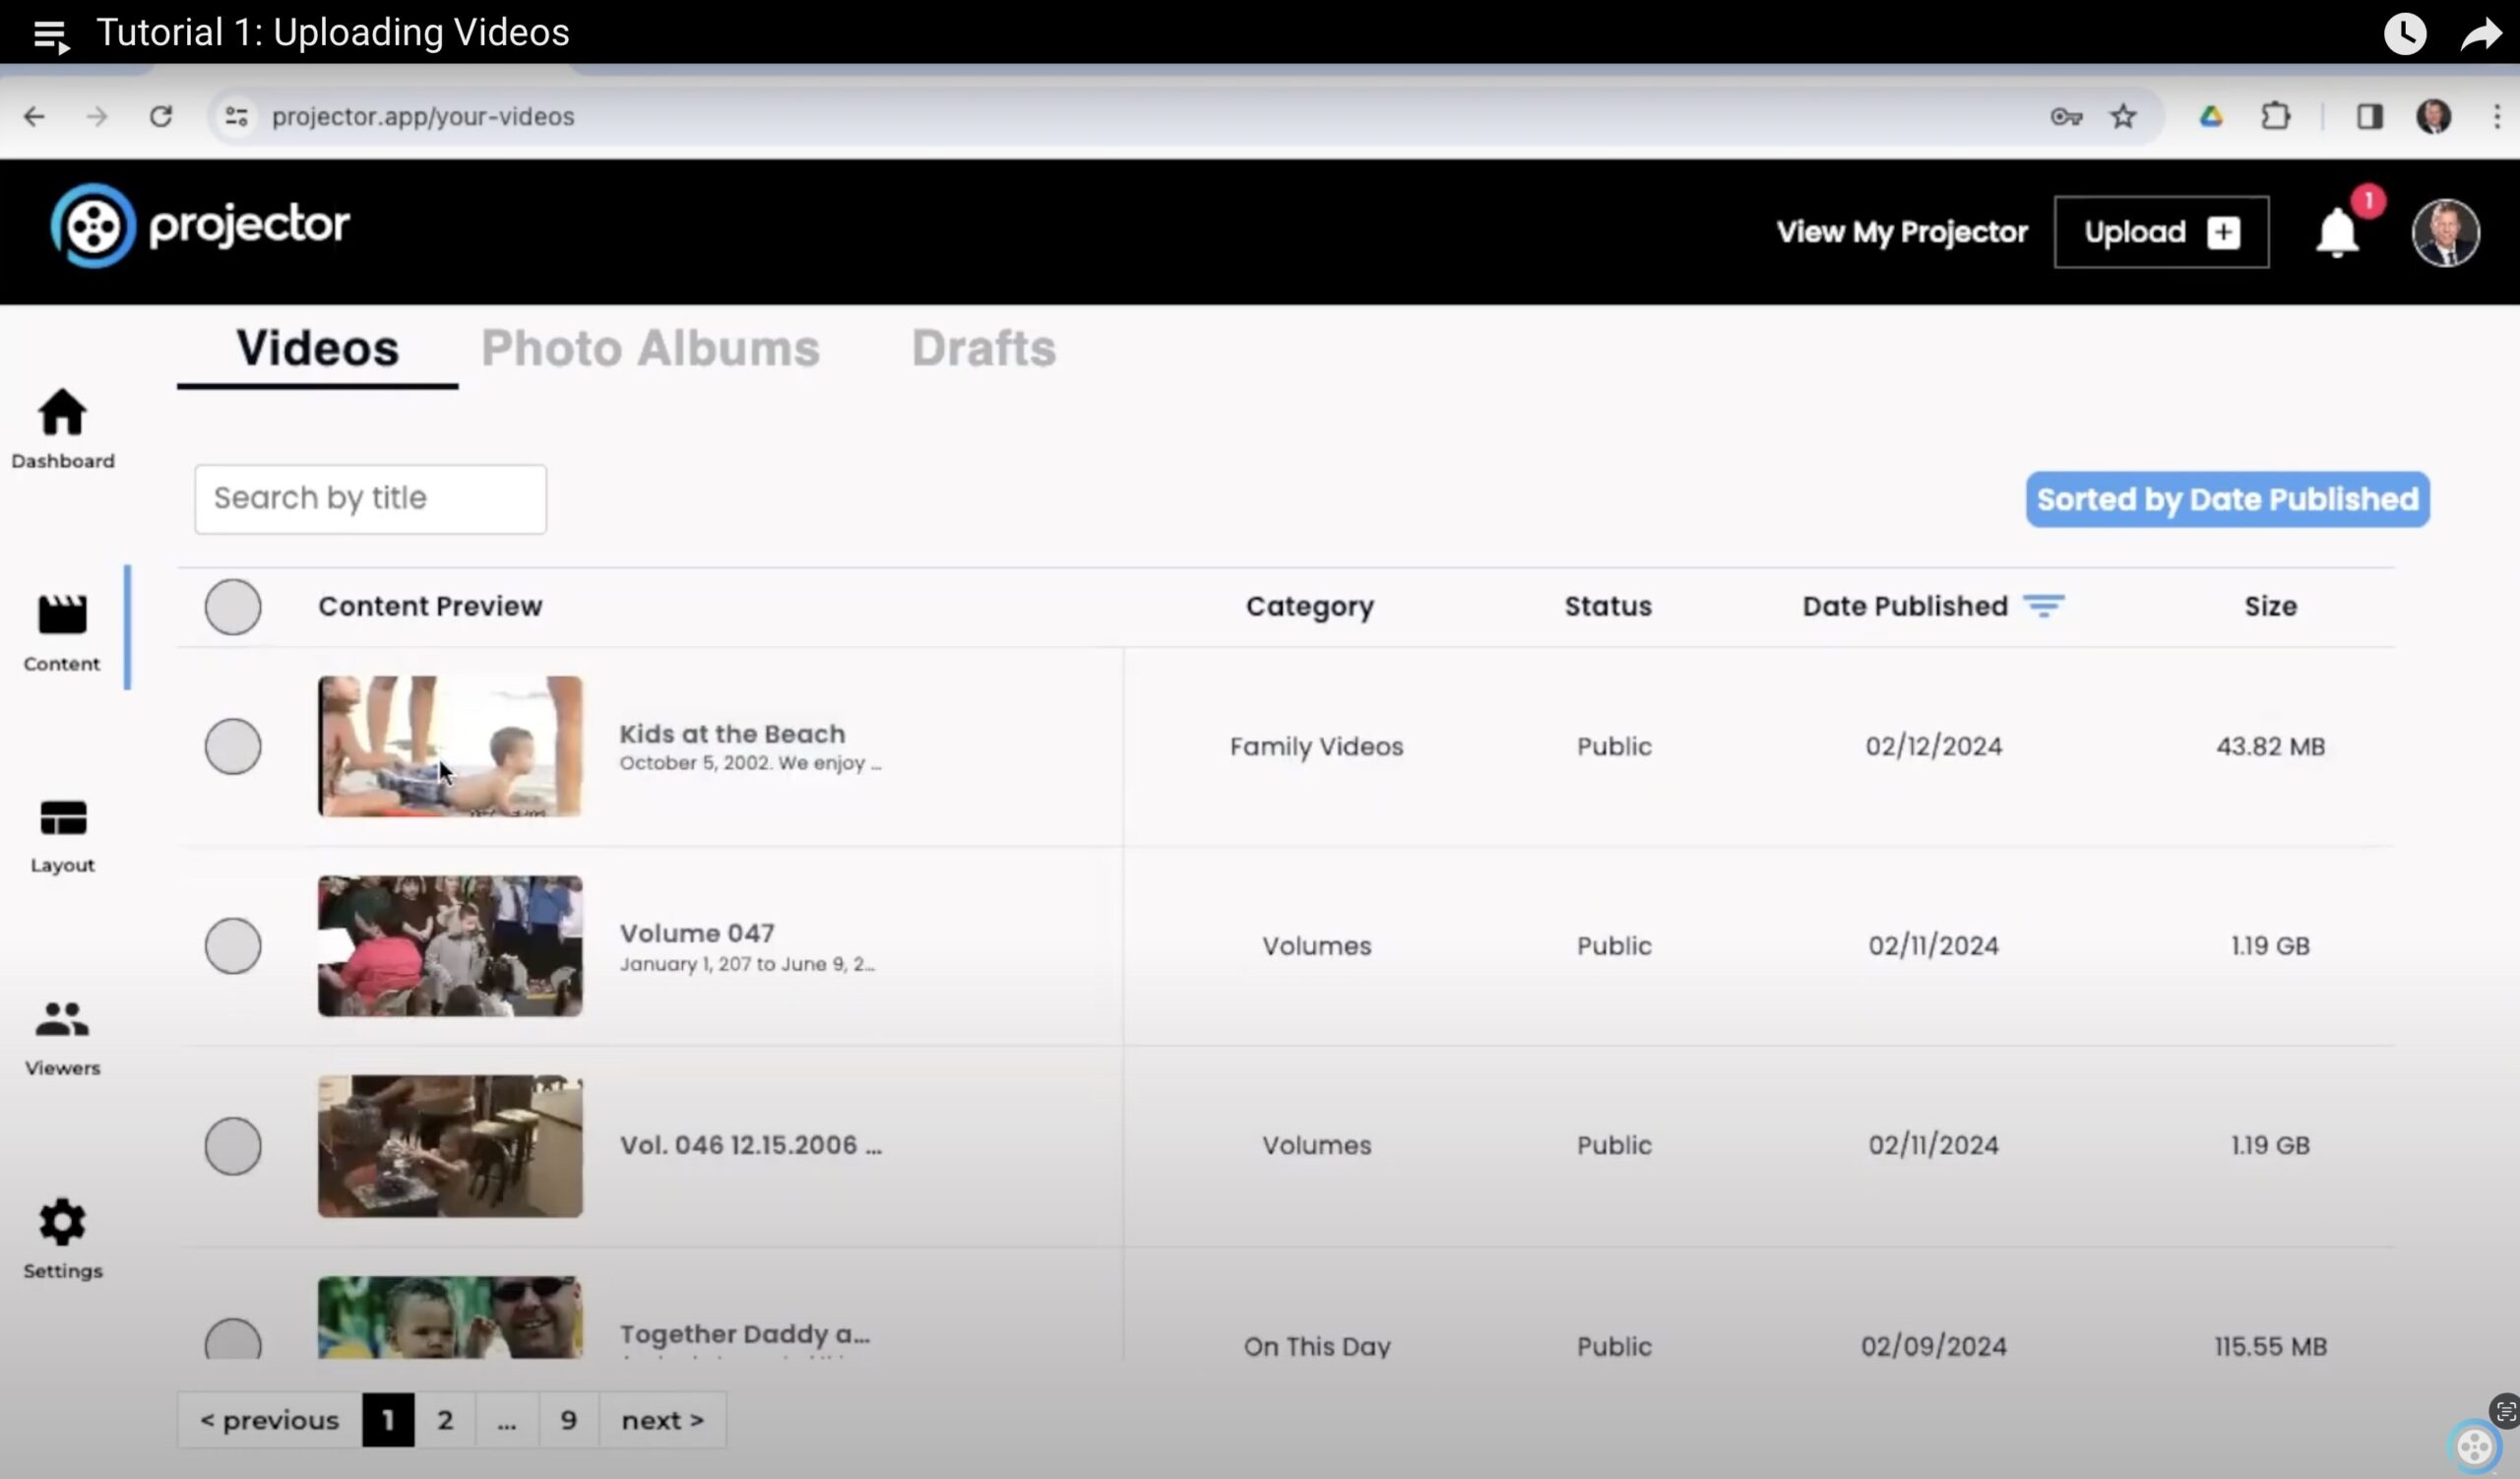
Let’s say you uploaded a video titled Kids at the Beach, categorized under Family Videos, and tagged with a subcategory Family. When you navigate to that category on your TV, you’ll see the beautiful thumbnail, the description (“October 5, 2002 – a fun day at the beach”), and can hit play just like you’re streaming your favorite show.
Final Thoughts
Uploading your home videos to Projector is easy, fast, and rewarding. In just a few minutes, you can turn dusty tapes and forgotten files into a streaming experience the whole family can enjoy.
You can turn your living room into a time machine—bringing your most cherished memories back to life, right on your TV.
